Growing tomatoes from seeds feels like unlocking a secret garden superpower. I’ve spent countless winters nurturing these tiny green miracles under my trusty heating pad and humidity dome. The magic starts when those first sprout leaves—called cotyledons—pop up, but patience is everything here. True leaves, which look like miniature versions of mature foliage, are your green light.
Through trial and error, I’ve learned rushing this stage leads to leggy, stressed plants. My golden rule? Wait until at least two sets of true leaves develop. This gives roots enough structure to handle the move. I’ll never forget the year I transplanted too early—those poor sprouts barely survived a week!
Consistent moisture and bright light are non-negotiables during this phase. Overwatering drowns delicate roots, while uneven light causes uneven growth. I’ll share how to spot the visual cues that scream “I’m ready!”—like sturdy stems and vibrant color. You’ll also learn my go-to tricks for hardening off plants before their big outdoor debut.
Whether you’re a first-time grower or a seasoned green thumb, this guide breaks down the process into bite-sized steps. Let’s turn those spindly starters into garden rockstars!
Key Takeaways
- True leaf development signals readiness for moving young plants
- Consistent light exposure prevents weak, stretched stems
- Root establishment matters more than calendar dates
- Gradual outdoor exposure reduces transplant shock
- Soil temperature impacts recovery time after moving
Understanding the Growth Stages of Tomato Seedlings
Young plants reveal their needs through physical changes—if you know what to look for. My gardening mentor once told me, “Seedlings speak through their structure,” and that wisdom transformed how I nurture new growth.
Leaf Language: Cotyledons vs True Foliage
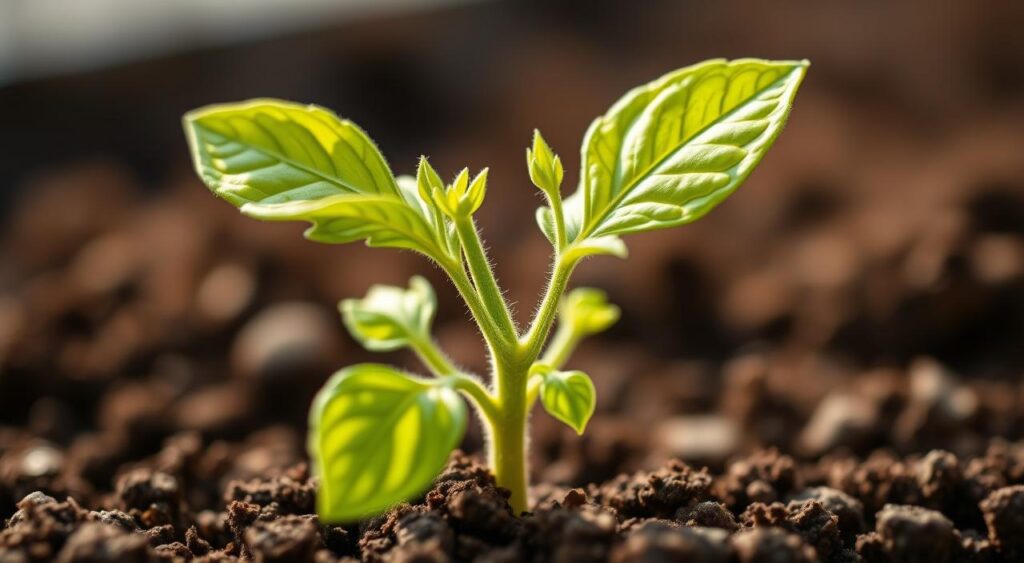
The first oval-shaped seed leaves (cotyledons) emerge as energy reserves from the seed. True leaves arrive later with jagged edges and visible veins. I check for at least four true leaves before considering a move—this ensures the plant can photosynthesize independently.
Root Readiness and Soil Clues
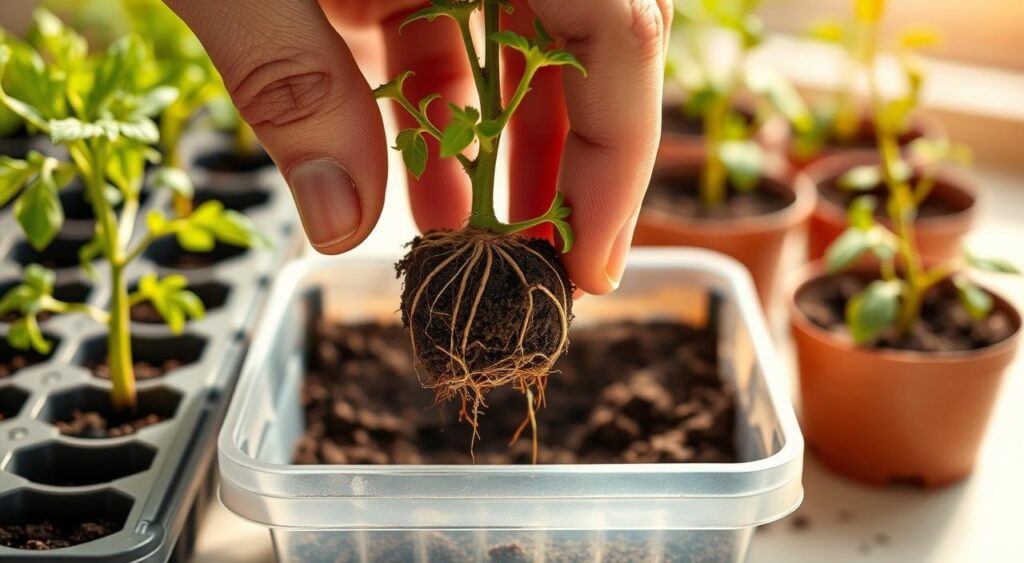
Healthy roots create a web through the soil. When I gently lift a plant, white tendrils should hold the growing medium together like a delicate net. Compacted or soggy soil often means roots need more time to develop.
| Growth Indicator | Not Ready | Ready for Next Step |
|---|---|---|
| Leaf Color | Pale yellow-green | Deep green with blue undertones |
| Stem Thickness | Thinner than toothpick | Pencil lead width |
| Soil Condition | Crumbles easily | Holds shape when squeezed |
Nighttime temperatures below 50°F can stall progress—I use a heat mat until stems strengthen. Overcrowded plants compete for light, causing weak stems. Spacing them early prevents this tango of desperation!
Best Practices: When to transplant tomato seedlings
The secret to thriving plants lies in perfect timing and preparation. I’ve found that syncing with nature’s rhythm makes all the difference—like waiting for that sweet spot when soil and sunlight harmonize.

Optimal Temperature and Soil Conditions
I aim for daytime temps around 65-75°F, which I call the “plant comfort zone.” Last spring, I learned this the hard way after moving sprouts during a chilly snap—they sulked for weeks! Now I test garden beds by sticking my finger 2 inches deep. If it feels like a lukewarm bath, we’re golden.
Soil should crumble like coffee grounds, not clump. My mix? Equal parts compost, perlite, and aged manure. This combo gives roots room to breathe while holding just enough moisture.
Signs Your Seedlings Are Ready
Look for four true leaves—they’re the plant’s way of saying “Let’s roll!” I once ignored this and moved a two-leaf sprout. It never caught up to its siblings. Roots should peek through drainage holes, signaling they need more space.
Here’s my quick checklist:
- Stems stand upright without support
- Leaf color matches a fresh lime wedge
- Soil stays moist 6 hours after watering
Last year, I waited until nighttime lows stayed above 55°F. Those plants outproduced my rushed batch by 40%. Now I keep a thermometer in my raised beds—it’s like a security blanket for paranoid gardeners!
Step-by-Step Guide to Transplanting Tomato Seedlings
Moving young plants feels like conducting a delicate orchestra—every instrument must play in harmony. My approach combines precise technique with a dash of intuition, forged through seasons of trial and error.

Preparing Your Pots and Growing Medium
I swear by ProMix for my containers—its airy texture lets roots breathe while retaining moisture. Last spring, I discovered letting pots dry slightly before moving day makes soil hold together better. Here’s my routine:
- Fill containers ¾ full with pre-moistened mix
- Create a center hole deep enough to bury stems up to first leaves
- Mix in slow-release organic fertilizer (I use 1 tbsp per gallon)
Watering and Fertilizing Tips Post-Transplant
Warm water (70-75°F) works magic for reducing shock. I pour until it drains freely—this settles soil around roots without compacting. One year, I used cold water and stunted growth for weeks. Now I keep a watering can near my heat mat.
Watch for these signs in the first week:
| Healthy Adjustment | Trouble Signs |
|---|---|
| New leaf buds within 3 days | Wilting at midday |
| Soil dries in 36-48 hours | Yellowing lower leaves |
If stems droop, I check drainage—sometimes fluffing the ground around roots saves the day. Remember: Plants need bright light but indirect sun during recovery. My greenhouse shelf became a ICU for stressed starters last season!
Transplanting to the Garden: Weather, Space, and Plant Care
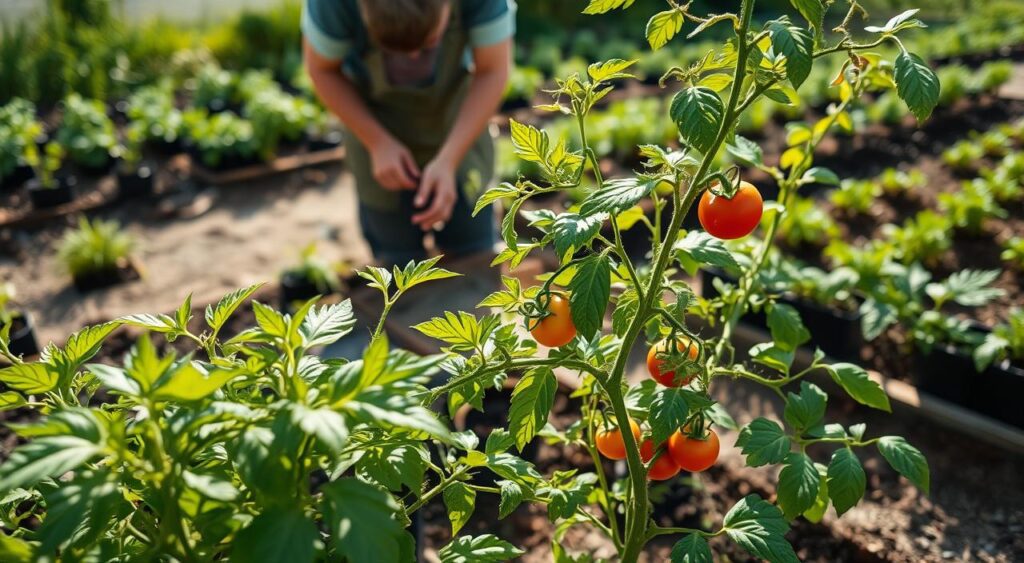
Transplant day feels like sending kids to summer camp—exciting but nerve-wracking! I’ve learned through frostbitten leaves and stunted growth that garden success hinges on two factors: gradual adaptation and smart spacing.

Hardening Off Seedlings for Outdoor Conditions
My hardening-off routine spans seven days. Day one starts with one hour of morning shade, increasing exposure daily. By week’s end, plants withstand full sun and gentle breezes. Last April, I skipped this process with a tray of greenhouse-started veggies—sunscorch turned leaves into crispy lace within hours.
Watch weather apps like a hawk. I once planted during a “warm spell,” only to rescue shivering sprouts with old bedsheets during a surprise 38°F night. Now I wait until nightly lows stay above 50°F for five consecutive days.
Managing Frost Risk and Spacing Considerations
Proper spacing prevents fungal parties. My rule? 24-36 inches between plants, depending on variety. Crowded roots compete like siblings in a backseat—nobody wins. For extra protection, I bury stems horizontally in trenches. This trick creates robust root systems that laugh at summer droughts.
Essential gear for risky weather:
- Frost blankets (stock up during winter sales)
- Milk jug cloches with bottoms removed
- Wooden stakes for quick row cover tents
Sturdy cages go in during planting—adding them later damages delicate roots. My heirloom varieties now climb handmade cedar trellises, their fruits dangling like botanical jewelry. Smart prep turns transplant trauma into garden glory!
Conclusion
Nurturing tomatoes from fragile starts to sun-kissed fruit teaches patience and precision. Through scorched leaves and stunted roots, I’ve discovered success hinges on three pillars: soil warmth, plant maturity, and gradual adaptation. That first juicy harvest makes every careful step worthwhile.
Preparation transforms chaos into confidence. I now track soil temperatures with a kitchen thermometer—65°F at 4″ depth signals go-time. Burying stems sideways in trenches? Game-changer for root development. My garden journal proves plants moved after forming four true leaves yield 30% more fruit than rushed transplants.
Mistakes became mentors. One frostbitten spring taught me to wait for stable nighttime warmth. Another season revealed overcrowded plants attract more pests than pollinators. Now I sketch spacing diagrams while sipping morning coffee—a ritual that’s equal parts science and soul.
Your turn! Grab those pots, feel the soil’s readiness, and trust your observations. Share triumphs (and tomato sandwiches) with fellow growers. After all, gardening’s greatest yield isn’t just fruit—it’s the joy of coaxing life from earth, one resilient seedling at a time.

