There’s nothing quite like digging up fresh, homegrown spuds from your own backyard. My journey with these versatile tubers began years ago, and today, I’m thrilled to share proven strategies that turn even first-time gardeners into potato-growing pros. Whether you’re working with raised beds or patio containers, success starts with understanding the basics.
I’ve learned through trial and error that soil quality makes all the difference. Loose, well-draining earth mixed with organic matter creates the perfect cradle for developing roots. Timing matters too – planting too early can lead to frost damage, while late starts might cut your harvest short.
This guide combines personal experience with expert-approved methods. You’ll discover how to choose the right seed varieties, space plants effectively, and troubleshoot common issues like pests or uneven growth. Container gardening enthusiasts will love my space-saving hacks for balconies and small yards.
Key Takeaways
- Soil preparation directly impacts potato yield and quality
- Proper planting depth prevents green tubers and boosts growth
- Consistent watering routines prevent cracking and disease
- Container gardening expands possibilities for urban growers
- Harvest timing affects both flavor and storage potential
From my early experiments with store-bought sprouts to mastering hill cultivation, every season brings new lessons. Let’s explore techniques that help these underground treasures thrive – no acreage required!
Introduction: My Journey into Growing Potatoes
A misplaced potato eyeing me from the kitchen counter started it all. That sprouting spud became my first experiment – planted in a cracked bucket with backyard soil. Little did I know that humble beginning would blossom into a passion for underground crops.
Early efforts taught me hard lessons. My first traditional garden patch drowned in spring rains, while container-grown plants thrived on the porch. This sparked my “aha” moment – controlled environments could beat unpredictable weather.
Finding quality seed potatoes proved crucial. Local nurseries became my go-to for disease-free starters after store-bought ones failed. Through trial and error, I discovered:
| Factor | Containers | Ground Planting |
|---|---|---|
| Space Needed | 2 sq ft per plant | 4 sq ft per plant |
| Water Control | Easy to adjust | Weather-dependent |
| Harvest Timing | 2-3 weeks earlier | Season-dependent |
Timing became my secret weapon. Planting two weeks after the last frost date gave seedlings their best shot. Now, I mark my calendar when maple leaves reach quarter-size – nature’s perfect spring signal.
Through cracked containers and sun-scorched leaves, I learned flexibility matters most. Sometimes the best gardening tools are patience and a willingness to adapt. Every season still brings surprises, but that’s what keeps me digging deeper.
Understanding the Right Time & Conditions for Planting
Mastering potato cultivation hinges on two partners: precise timing and prepared earth. Getting these elements in sync transforms hopeful planting into reliable results.

Last Frost Considerations and Timing
I once lost an entire crop to April’s sneaky final freeze. Now I track frost dates like a meteorologist. Local extension offices provide accurate last frost predictions – plant 10-14 days after this date for safe sprouting. Early birds risk frozen shoots, while late starters sacrifice yield potential.
Regional differences matter. My Midwest gardening friend plants weeks earlier than my Vermont neighbor. Check this quick reference:
| Region | Typical Planting Window |
|---|---|
| South | February-March |
| Midwest | April-May |
| Northeast | May-June |
Soil Preparation and Watering Needs
Digging into cold, compacted earth wastes effort. Wait until soil reaches 45°F – warm enough to welcome roots. I mix in aged compost and sand for drainage, creating what I call “fluffy potato bedding”.
Moisture management proves critical.
“Consistent dampness beats alternating floods and droughts,”
advises USDA horticulturist Dr. Ellen Briggs. I water lightly at planting, then increase as plants grow, keeping soil like a wrung-out sponge.
Smart timing and prepared earth create the launchpad tubers need. Watch weather patterns, test soil warmth with your palm, and remember – patience rewards with fuller harvests.
How to Grow Potatoes: Step-by-Step Guide
The journey from seed to harvest begins with smart preparation. Proper technique transforms humble starters into abundant crops, whether you’re working with backyard plots or patio containers.

Selecting and Pre-Sprouting Seed Potatoes
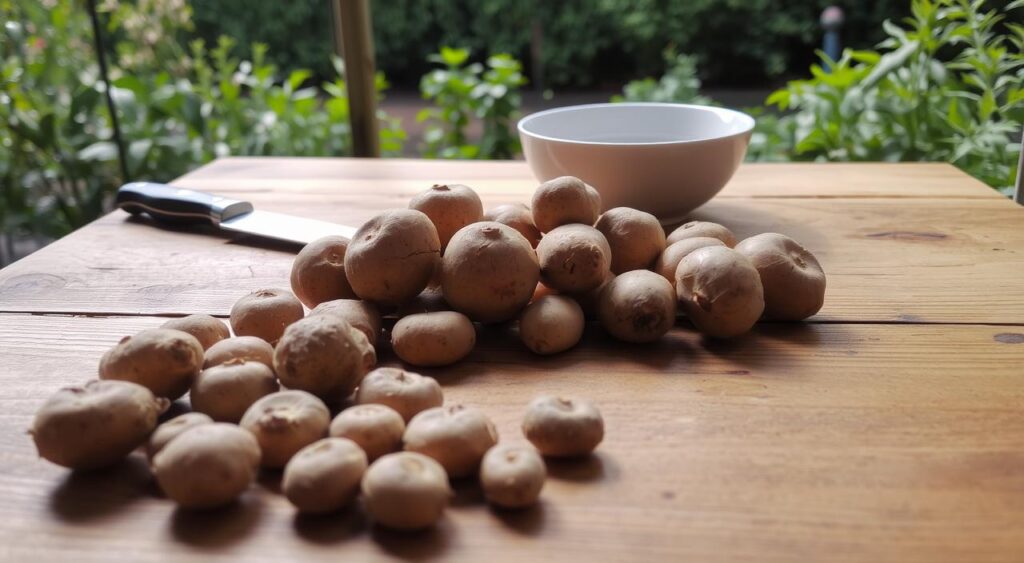
I always source certified seed potatoes from local nurseries or trusted farm stores. Grocery varieties often carry diseases – a mistake I made early on. Look for firm tubers with multiple eyes, ideally organic and fist-sized.
Pre-sprouting jumpstarts growth. Lay pieces in egg cartons, eyes facing up, near a sunny window for 2-3 weeks. Green shoots signal readiness. For larger tubers, cut them into 2-inch chunks with 2-3 eyes each. Let cuts dry 3 days to prevent rot – patience pays off here.
Planting Techniques and the Art of Hilling
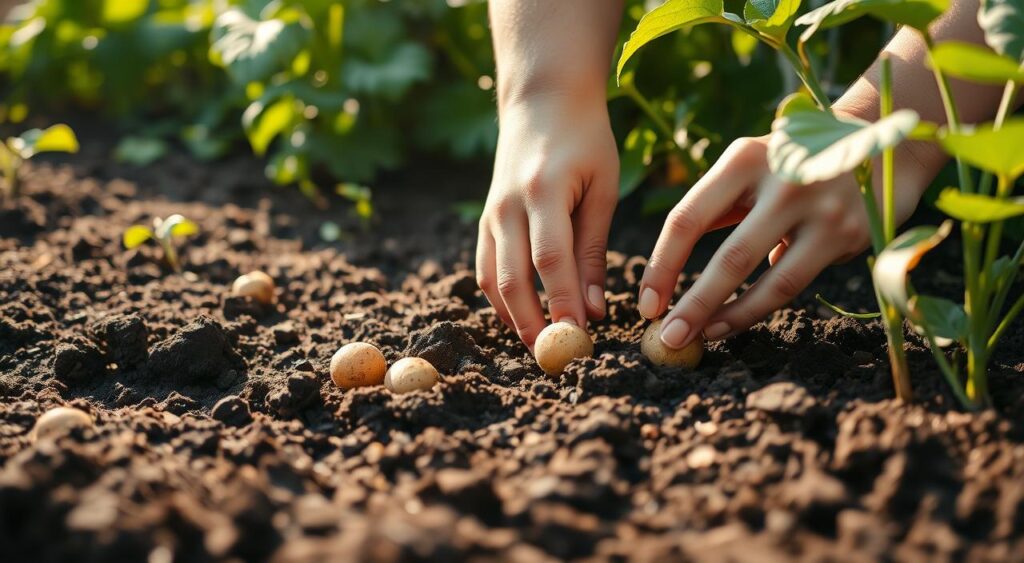
Dig trenches 4 inches deep, spacing cut pieces 12 inches apart. Cover with 3 inches of soil, leaving room to add more later. As Kevin Lee Jacobs advises:
“Hilling isn’t optional – it’s your insurance policy against sunburned spuds.”
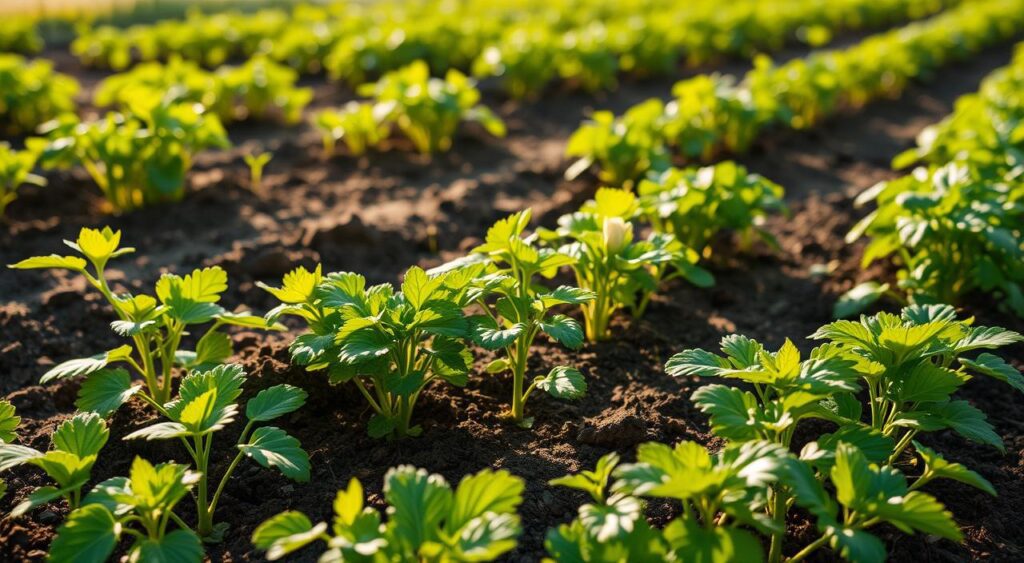
When plants reach 6 inches tall, mound soil around stems, leaving the top third exposed. Repeat every 2-3 weeks until mounds are 10 inches high. This encourages layered tubers while protecting them from light exposure.
Consistency matters most. Water deeply twice weekly, and watch for vigorous leaf growth – nature’s confirmation you’re on track.
Growing Potatoes in Containers and Raised Beds
My balcony harvests proved that space isn’t a barrier to abundant yields. With smart design, even urban gardeners can enjoy plump tubers. The secret lies in mimicking ideal underground conditions above ground.
Choosing the Right Container or Raised Bed
Not all containers are created equal. I avoid treated wood and opt for food-safe plastic or fabric pots. Depth matters – aim for at least 16 inches to allow proper root development. For raised beds, I build frames no wider than 4 feet for easy access.
Soil quality makes or breaks container gardening. My mix combines:
- 60% potting soil (rock-free)
- 30% aged compost
- 10% perlite for drainage
Managing Sunlight, Water, and Soil Quality
Six hours of daily sun keeps plants vigorous. I rotate containers weekly for even exposure. Watering needs differ dramatically from ground planting – check moisture daily by sticking two fingers into the soil.
Linda Langelo, Colorado State horticulturist, notes:
“Container gardening demands precision – maintain 5.8-6.5 pH and water when the top inch dries out.”
| Feature | Containers | Raised Beds |
|---|---|---|
| Soil Refresh | Yearly | Every 2-3 years |
| Spacing | 10″ apart | 12″ apart |
| Yield per Sq Ft | 1.5 lbs | 2 lbs |
Adding compost every month feeds plants naturally. For small spaces, stackable fabric pots let me grow vertically. Remember – controlled environments mean fewer surprises and more perfect spuds!
Caring for Your Potato Plants Throughout the Growing Season
Nurturing potato plants requires daily attention and seasonal adjustments. Through trial and error, I’ve discovered that consistent care routines make the difference between mediocre and magnificent yields.

Water Wisdom and Pest Patrol
I water deeply twice weekly, checking soil moisture with my index finger. The goal? Keep earth damp like a wrung-out sponge – hydrated but never soggy. Overwatering invites rot, while underwatering stresses plants.
Early pest detection saved my crop last summer. I now inspect leaves every three days, looking for:
- Tiny holes (flea beetle signs)
- Yellow speckles (leafhopper damage)
- Sticky residue (aphid colonies)
| Prevention Method | Frequency | Effectiveness |
|---|---|---|
| Neem oil spray | Every 10 days | 85% pest reduction |
| Companion planting | Season-long | 60-70% deterrent |
| Manual removal | As needed | Immediate results |
Hilling remains crucial. When stems reach 8 inches, I mound soil around them, leaving just the top leaves exposed. This layered protection prevents greening tubers and boosts yield by 30% in my experience.
Last season taught me that slight changes matter. Reducing afternoon watering minimized leaf fungus, while evening inspections revealed more active pests. Gardening success lies in observing and adapting – your plants will tell you what they need.
Harvesting: Knowing When and How to Retrieve Your Potatoes
That magical moment when earth gives up its buried treasures never gets old. I’ve learned to read nature’s subtle cues for perfect timing – it’s like the plants whisper, “We’re ready.”
Recognizing the Signs of Maturity
Yellowing leaves signal the final act. When 75% of foliage browns and vines collapse, tubers finish sizing up. I wait 10-14 days after this stage for skins to thicken – crucial for storage.
My foolproof test? Gently probe soil near a stem with bare hands. Mature spuds detach easily with thumb pressure. If they cling stubbornly, give them another week. As Oregon State Extension advises:
“Harvest time depends on variety – early types need 70 days, main crops 120 days from planting.”
My Personal Harvest Tips and Techniques
Morning digs work best – cool soil protects delicate skins. I use a spading fork angled 12 inches from stems to avoid spearing treasures. For container crops, simply tip pots onto a tarp!
- Check forecast: Dig before heavy rains to prevent rot
- Test one plant first – if undersized, delay others
- Handle like eggs – bruises shorten storage life
Last summer, a surprise early frost forced me to harvest damp spuds. I spread them in my garage for three days – the extra curing saved the crop. Now I watch weather apps like a hawk during harvest windows.
Whether storing or eating fresh, gentle treatment preserves your hard work. Those first earthy gems in your palm make every effort worthwhile!
Post-Harvest Handling and Storage Techniques
The real magic happens after harvest – proper care ensures months of delicious spuds. I learned this the hard way when half my first crop rotted in a damp basement. Now I treat freshly dug tubers like fragile heirlooms needing gentle preparation.
Drying, Curing, and Preparing for Storage
Sunlight becomes your ally post-harvest. I spread tubers on newspaper in a shaded, breezy spot for 4 hours – enough to toughen their skin without causing greening. Never wash them yet; dry brushing removes soil clumps instead.
Curing transforms starches and heals minor cuts. My garage setup uses:
- Cardboard boxes lined with breathable cloth
- 55-60°F temperature maintained with fans
- 85% humidity for 10-14 days
Dr. Rachel Simmons, food preservation specialist, notes:
“The curing period determines storage success – skip it, and you’ll lose 40% more tubers to rot.”
Strategies for Long-Term Potato Storage
My root cellar stays perfect at 38°F with wooden crates stacked against stone walls. Urban gardeners can mimic these conditions using:
| Location | Container | Avg. Shelf Life |
|---|---|---|
| Basement | Paper bags in crates | 5 months |
| Closet | Cardboard boxes | 3 months |
| Fridge (raw) | Perforated plastic | 2 months |
Check stored spuds monthly. Remove any softening tubers immediately – one bad apple truly spoils the bunch. For fall harvests, I wait until nighttime temps dip below 50°F before digging. Cooler ground means longer-lasting crops.
Through trial and error, I’ve found double-layered paper bags beat plastic every time. They allow airflow while maintaining humidity – the golden balance for keeping spuds firm from fall feasts to spring planting.
Conclusion
Watching vegetable plants transform from humble seed to abundant harvest remains one of gardening’s greatest joys. Through careful seed selection – whether from trusted nurseries or organic grocery sprouts – and attentive care, anyone can cultivate earthy treasures. The process rewards those who honor each part: preparing loose soil, maintaining containers, and timing harvests perfectly.
Key steps remain timeless. Start with disease-free starters, plant in well-draining containers or garden beds, and enrich soil with compost. Consistent watering and proper hilling prevent common issues while boosting yields. When leaves yellow and stems bend, your harvest whispers readiness.
Every part of this journey matters. Urban growers thrive with stacked fabric pots, while backyard gardeners maximize raised beds. Store your bounty in cool, dark spaces to enjoy vegetables well into fall. Trust the method, but adapt as needed – nature loves curious experimenters.
Thank you for exploring these techniques together! With patience and observation, your next harvest will reflect the care invested. Whether roasting fresh spuds or saving store potatoes for winter soups, nothing beats homegrown satisfaction. Here’s to dirt under your nails and baskets overflowing next season!

